How to Repair Small Scratches on Your Car
If you’re frustrated by seeing those small scratches on your car’s paint, it’s time to take action! Learn how to repair small scratches on your car with DIY techniques that can restore your vehicle’s shine.
Even the most cautious car owners encounter the occasional scratch.
While professional repairs are ideal for severe damage, tackling minor scratches with at-home techniques can both save you money and restore your car’s pride-inducing shine.
Let’s dive into the details!
Assess the Damage: What Type of Scratch is it?
Clear Coat Scratches
These superficial blemishes only mar the outermost transparent layer. Often appearing as swirl marks or thin lines, they won’t typically catch your fingernail.
Paint Scratches
These penetrate through the clear coat into the colored paint layer. While you’ll feel a slight “catch” with your fingernail, the metal beneath isn’t exposed.
Deep Scratches
Cuts fully through the paint layers, exposing bare metal or primer. They’ll have a noticeable groove, often with a different color at the base. These generally necessitate professional repair.
Gather Your Arsenal
Car Wash Essentials
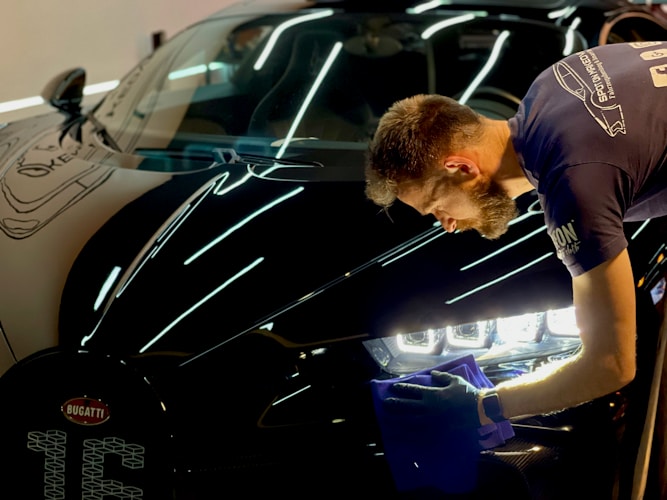
Use microfiber towels, a dedicated car wash soap, and a clean bucket to remove dirt and debris before starting. Avoid dish soaps which can strip protective wax. Dryness is your ally!
Scratch Removal Pens/Kits
Ideal for very fine clear coat scratches. Popular brands include Quixx, Carfidant, and TriNova. These utilize a mild abrasive combined with fillers for a quick fix.
Rubbing/Polishing Compounds
Come in varying levels of “cut” (abrasiveness). Start with a light compound like Meguiar’s Ultimate Compound before working up to more aggressive options.
Touch-up Paint
Only for paint-layer scratches. Find your car’s exact paint code (on a sticker in the door jamb or sometimes under the hood) for the best match.
Applicators & Cloths
Soft foam applicators and lint-free microfiber cloths are essential for applying and buffing products.
Masking Tape (Optional)
For protecting surrounding paint when repairing larger areas.
Repair Small Scratches on Your Car: Step-by-Step Guide
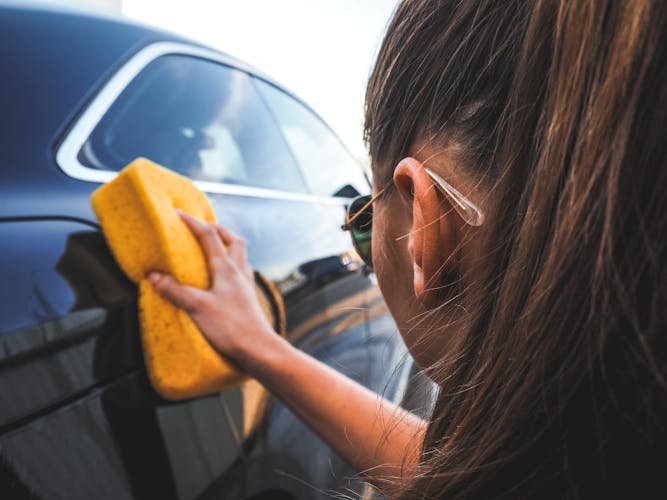
- Clean & Dry: This step is paramount! Contaminants left behind can cause further damage during the polishing stages.
- Clear Coat Scratches:
- Apply a small amount of scratch remover as directed on the product.
- Work in with gentle, circular motions using a microfiber cloth or applicator pad.
- Buff away any residue with a clean microfiber towel. Inspect closely for remaining scratches.
- Paint Scratches
- Touch-up: Carefully dab a tiny amount of touch-up paint with a toothpick or fine brush, slightly overfilling the scratch. Multiple thin coats are better than one thick blob! Allow drying between coats.
- Leveling: After several days of thorough drying, you can “knock down” excess touch-up paint. Wet sanding with fine-grit sandpaper (1500-2000 grit) is the enthusiast’s choice, but a light rubbing compound on a foam pad creates less risk for beginners.
- Polishing: A finer polishing compound will restore gloss and blend the repaired area seamlessly with the surrounding paint.
- Protection: A quality wax or sealant adds a sacrificial layer to help prevent future minor scratches.
Pro Tips for Repairing Small Scratches on Your Car
- Work in the Shade: Avoid direct sunlight as products can dry too quickly, hindering the repair process.
- Patience is Key: Deeper scratches may require multiple rounds of polishing or touch-up for the best results.
- Prevention is King: Regular washing with proper techniques, waxing, and parking carefully drastically minimize the likelihood of scratches in the first place.
- Know Your Limits: If the scratch is severe or you’re uncomfortable with the process, seeking a professional detailer ensures a flawless finish.
Repairing Small Scratches On Your Car: Troubleshooting
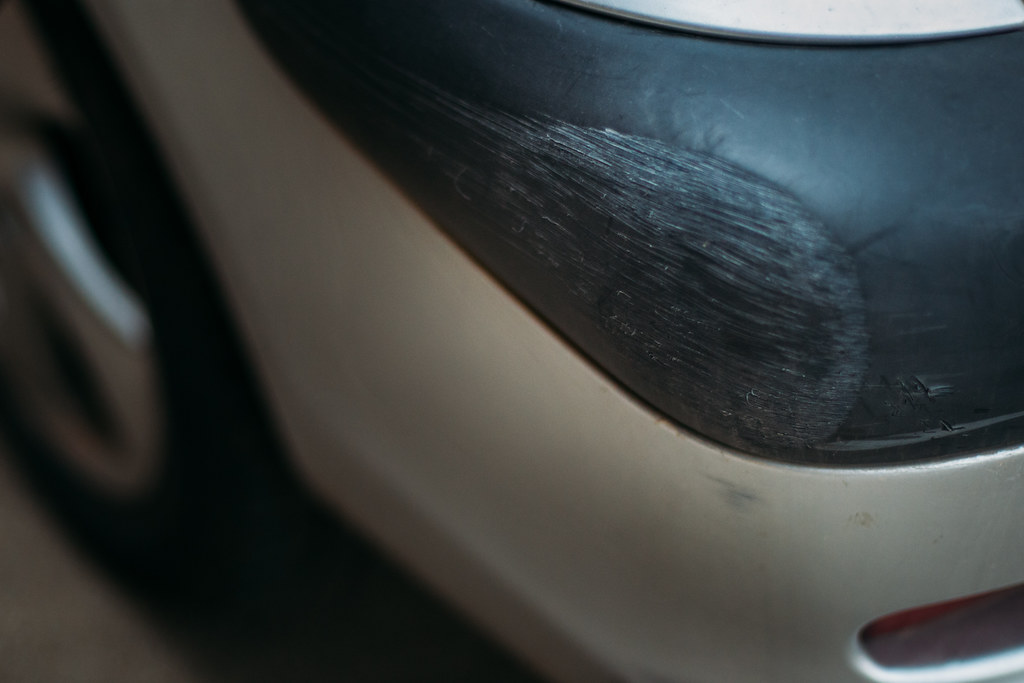
Even with careful adherence to instructions, scratch repair doesn’t always go flawlessly.
A common setback is encountering a worse-looking scratch after repair, often due to incorrect product usage or attempting to fix a scratch too deep for DIY techniques.
If you see a dull, hazy area around the scratch, you may have accidentally removed the surrounding clear coat.
A milder polishing compound or professional assistance might be needed. If the damage seems extensive, it’s wise to stop and seek expert help to avoid further damaging your paint.
Another issue is a persistent, visible scratch even after repair efforts. When repairing paint-level scratches, it sometimes takes several rounds of touch-up, drying, sanding, and polishing to achieve a smooth, hidden repair.
Always err on the side of thinner coats and build up slowly; removing excess touch-up paint is harder than adding more.
If you feel the scratch still catches your fingernail after a few attempts, it may be beyond a DIY fix, and a professional consultation is recommended.
Beyond Basic Car Scratches
Minor scratches are the most common car cosmetic issue, but they aren’t the only damage you might encounter.
Stone chips often lead to small “stars” or “craters” in your paint. Specialty repair kits exist to prevent exposed metal from rusting.
While the chip won’t disappear entirely, the goal is to seal the paint, minimizing its visual impact and protecting your car’s body long-term.
Plastic bumpers also become scuffed, requiring a slightly different approach than painted metal panels.
Specialized plastic primers, fillers, and textured paints might be necessary for a seamless repair matching your bumper’s finish.
Matte paint, with its unique look, presents added challenges, as even light polishing can alter the sheen, creating noticeable patches.
Unless the scratch is exceptionally minor, seeking a specialist with matte paint experience is essential.
DIY Enthusiast Tools for Repairing Small Car Scratches
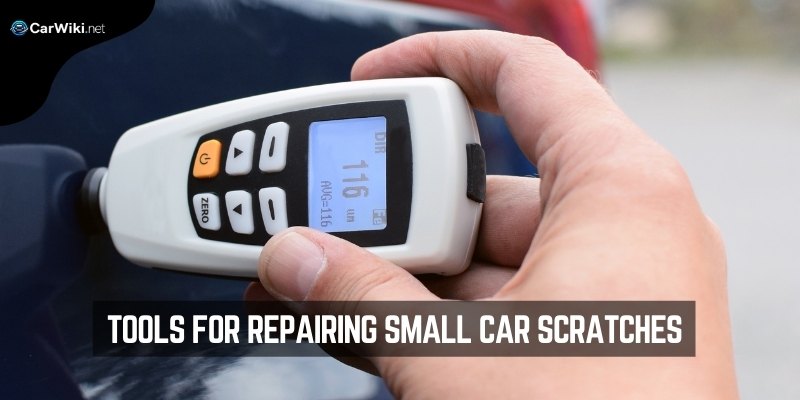
While simpler materials are enough for basic scratch fixes, car care enthusiasts may want to expand their toolboxes for greater control over the process.
A paint depth gauge offers peace of mind.
This specialized tool measures how many microns of clear coat remain over the paint, allowing you to gauge how aggressively you can polish without cutting through to the base color.
For tackling larger repairs, polishers offer efficiency and more consistent results.
Orbital polishers are the safest for beginners, minimizing the risk of overworking a specific area and damaging paint.
Product Spotlight
Navigating the array of car care products can be overwhelming. Let’s spotlight a few trusted brands popular with DIY enthusiasts that can help repair small scratches on your car.
| Product Name | Type | Best For | Notes |
|---|---|---|---|
| Meguiar’s Ultimate Compound | Polishing Compound | Light to moderate clear coat or paint scratches | Versatile, works by hand or machine, safe for beginners |
| Quixx Scratch Remover Kit | Scratch Remover Pen + Polish | Fine clear coat scratches | Easy application, all-in-one kit |
| Carfidant Scratch and Swirl Remover | Multi-purpose product | Light clear coat scratches, swirl marks | Budget-friendly, includes applicator |
| 3M Scratch and Scuff Removal Kit | Complete System | Moderate clear coat and paint scratches | Multiple steps for deeper repairs, but includes sanding supplies |
| Dr.ColorChip Touch-Up Paint System | Touch-up paint + blending solution | Paint scratches, stone chips | Best for those seeking exact paint match, multiple kit sizes available |
Important: Always read product instructions carefully and consider the depth of your scratch before choosing a specific solution!
How to Repair Small Scratches on Your Car: Final Words
Minor scratches don’t have to ruin the look of your beloved car.
With the right products, a bit of patience, and the techniques outlined in this guide, you can repair small scratches on your car and restore your vehicle’s shine in no time.
Remember, prevention is always the best approach; protect your paint with regular waxing and careful washing practices to minimize the chances of scratches occurring in the first place.
Related articles:
- Benefits of Tire Rotation
- How to Check Car Battery Without a Multimeter
- Steering Wheel Making Noise
- How to Remove Stuck Spark Plug From Aluminum Head


